Introduction
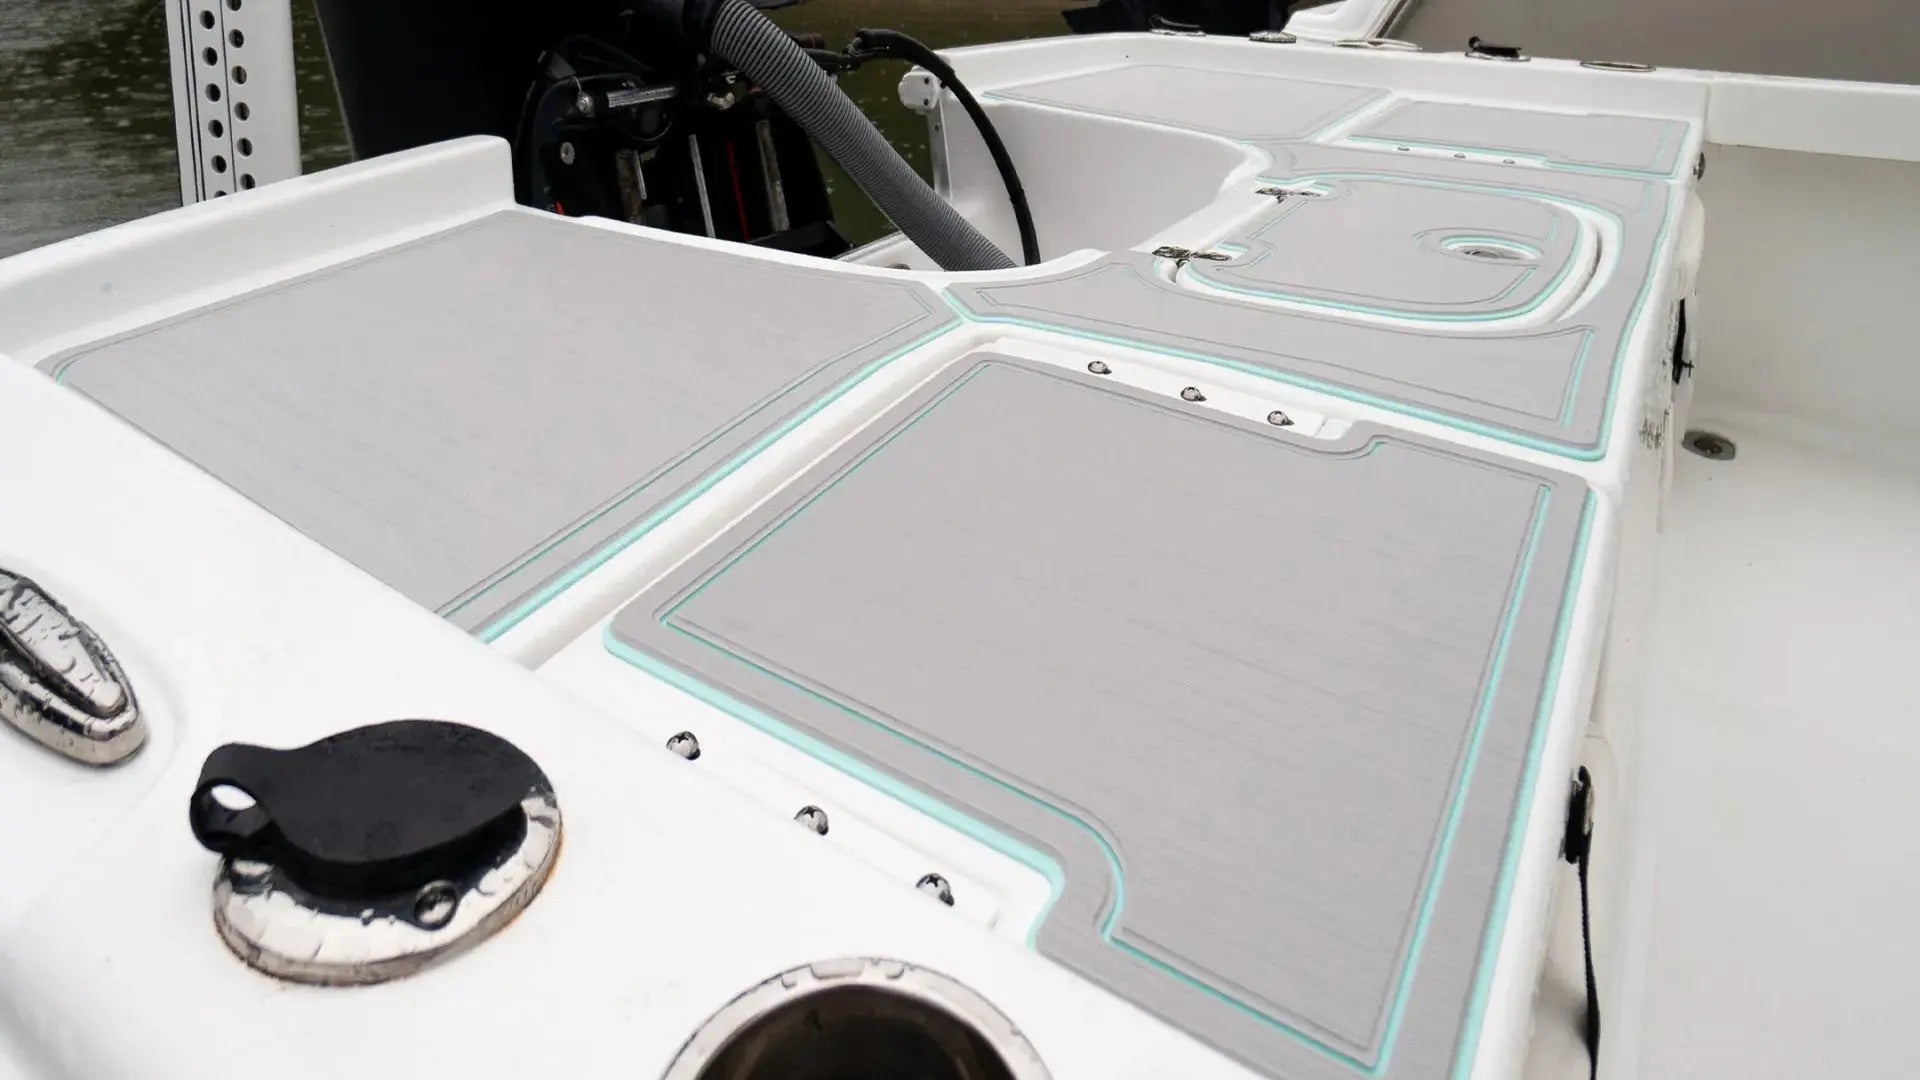
Upgrading your boat deck can feel intimidating, but it doesn’t have to be. Many boat owners ask: How do you install EVA foam boat flooring?
The good news is EVA foam is specifically designed to make DIY boat flooring easy and accessible—even for beginners. At BoatFloorings, our customers love how they can transform their boat in just one afternoon.
This guide will walk you through the installation process, answer common questions, and explain why EVA foam is such a popular choice for marine flooring.
Why Choose EVA Foam Boat Flooring?
Before we dive into the installation steps, let’s cover why this material is so popular:
✅ Easy Peel and Stick Application – No messy adhesives or complicated tools.
✅ Custom Fit – Trims easily with a utility knife.
✅ Anti-Slip Safety – Grippy textures like faux teak decking or diamond patterns reduce slips.
✅ UV Resistant Boat Flooring – Designed to withstand sun exposure without fading or cracking.
✅ Comfortable Underfoot – Cushioned feel for barefoot cruising.
✅ Waterproof & Low Maintenance – Just rinse to clean.
Whether you own a pontoon, fishing boat, yacht, or jet ski, EVA foam boat flooring offers a reliable, modern upgrade.
Preparation Steps
A good installation starts with good prep. Here’s what you’ll need:
-
EVA foam sheets (from BoatFloorings)
-
Utility knife or sharp blade
-
Tape measure
-
Straight edge or ruler
-
Clean cloth or rag
-
Mild cleaner and water
✅ 1. Clean Your Deck Thoroughly
-
Remove old flooring, dirt, and grease.
-
Wash with mild soap and water.
-
Let dry completely to ensure strong adhesion.
✅ 2. Measure and Plan
-
Measure your deck dimensions carefully.
-
Plan seam placement if using multiple sheets.
-
Mark tricky areas like hatches or curves.
Cutting & Fitting
✅ 3. Trace and Cut
-
Lay the EVA foam sheet face down.
-
Trace the outline of your deck or template.
-
Cut carefully with a utility knife for precise edges.
✅ 4. Dry Fit Before Sticking
-
Place the cut pieces on the deck to test the fit.
-
Make adjustments as needed for perfect coverage.
Installation: Peel and Stick Boat Flooring
✅ 5. Peel the Backing
-
Start with one edge.
-
Peel the adhesive backing slowly to avoid wrinkles.
✅ 6. Apply and Press
-
Align carefully with your starting edge.
-
Press firmly as you work across the deck.
-
Smooth out air bubbles by hand or with a roller.
✅ 7. Secure Edges
-
Double-check edges and corners for full adhesion.
-
Apply extra pressure where needed.
✅ 8. Let It Set
-
Avoid heavy foot traffic for a few hours.
-
Let adhesive cure as per instructions (typically 24 hours).
Pro Tips for Best Results
-
Install in mild temperatures (60–80°F) to avoid adhesive issues.
-
For curves or tight corners, make relief cuts for better fit.
-
Always test-fit before removing the backing.
Maintenance Is Easy
✅ Rinse with fresh water after use.
✅ Mild soap for deeper cleaning.
✅ UV resistant finish prevents fading.
✅ Anti-slip texture stays grippy even when wet.
Why Choose BoatFloorings?
At BoatFloorings, we know marine flooring. Our EVA foam boat flooring options include:
-
Faux teak decking for classic style
-
Diamond and stripe patterns for anti-slip safety
-
Solid color and camo designs for unique looks
-
Peel and stick convenience for DIYers
We focus on delivering quality, affordability, and easy installation, so you can spend less time working on your boat—and more time enjoying it.
Conclusion
Installing EVA foam boat flooring is one of the easiest and most effective ways to upgrade your boat. With peel and stick convenience, anti-slip safety, UV resistance, and customizable patterns, it’s no wonder so many boat owners are making the switch.
Ready to get started? Check out our full range of marine flooring options and see why BoatFloorings is the trusted choice for boaters everywhere.

Share:
Is EVA Foam Good for Boat Flooring?
What Makes EVA Foam Boat Flooring So Popular?